Lesson 4: Introduction to Crops and Cultivation
Introduction
In this lesson, you'll get an in-depth look at the crops you'll grow—seaweed and bivalves—and how to manage them through the seasonal cycle of your farm. You’ll not only learn what to grow, but how to grow it: when to plant, how to deploy your gear, how to maintain your crops, and how to harvest successfully.
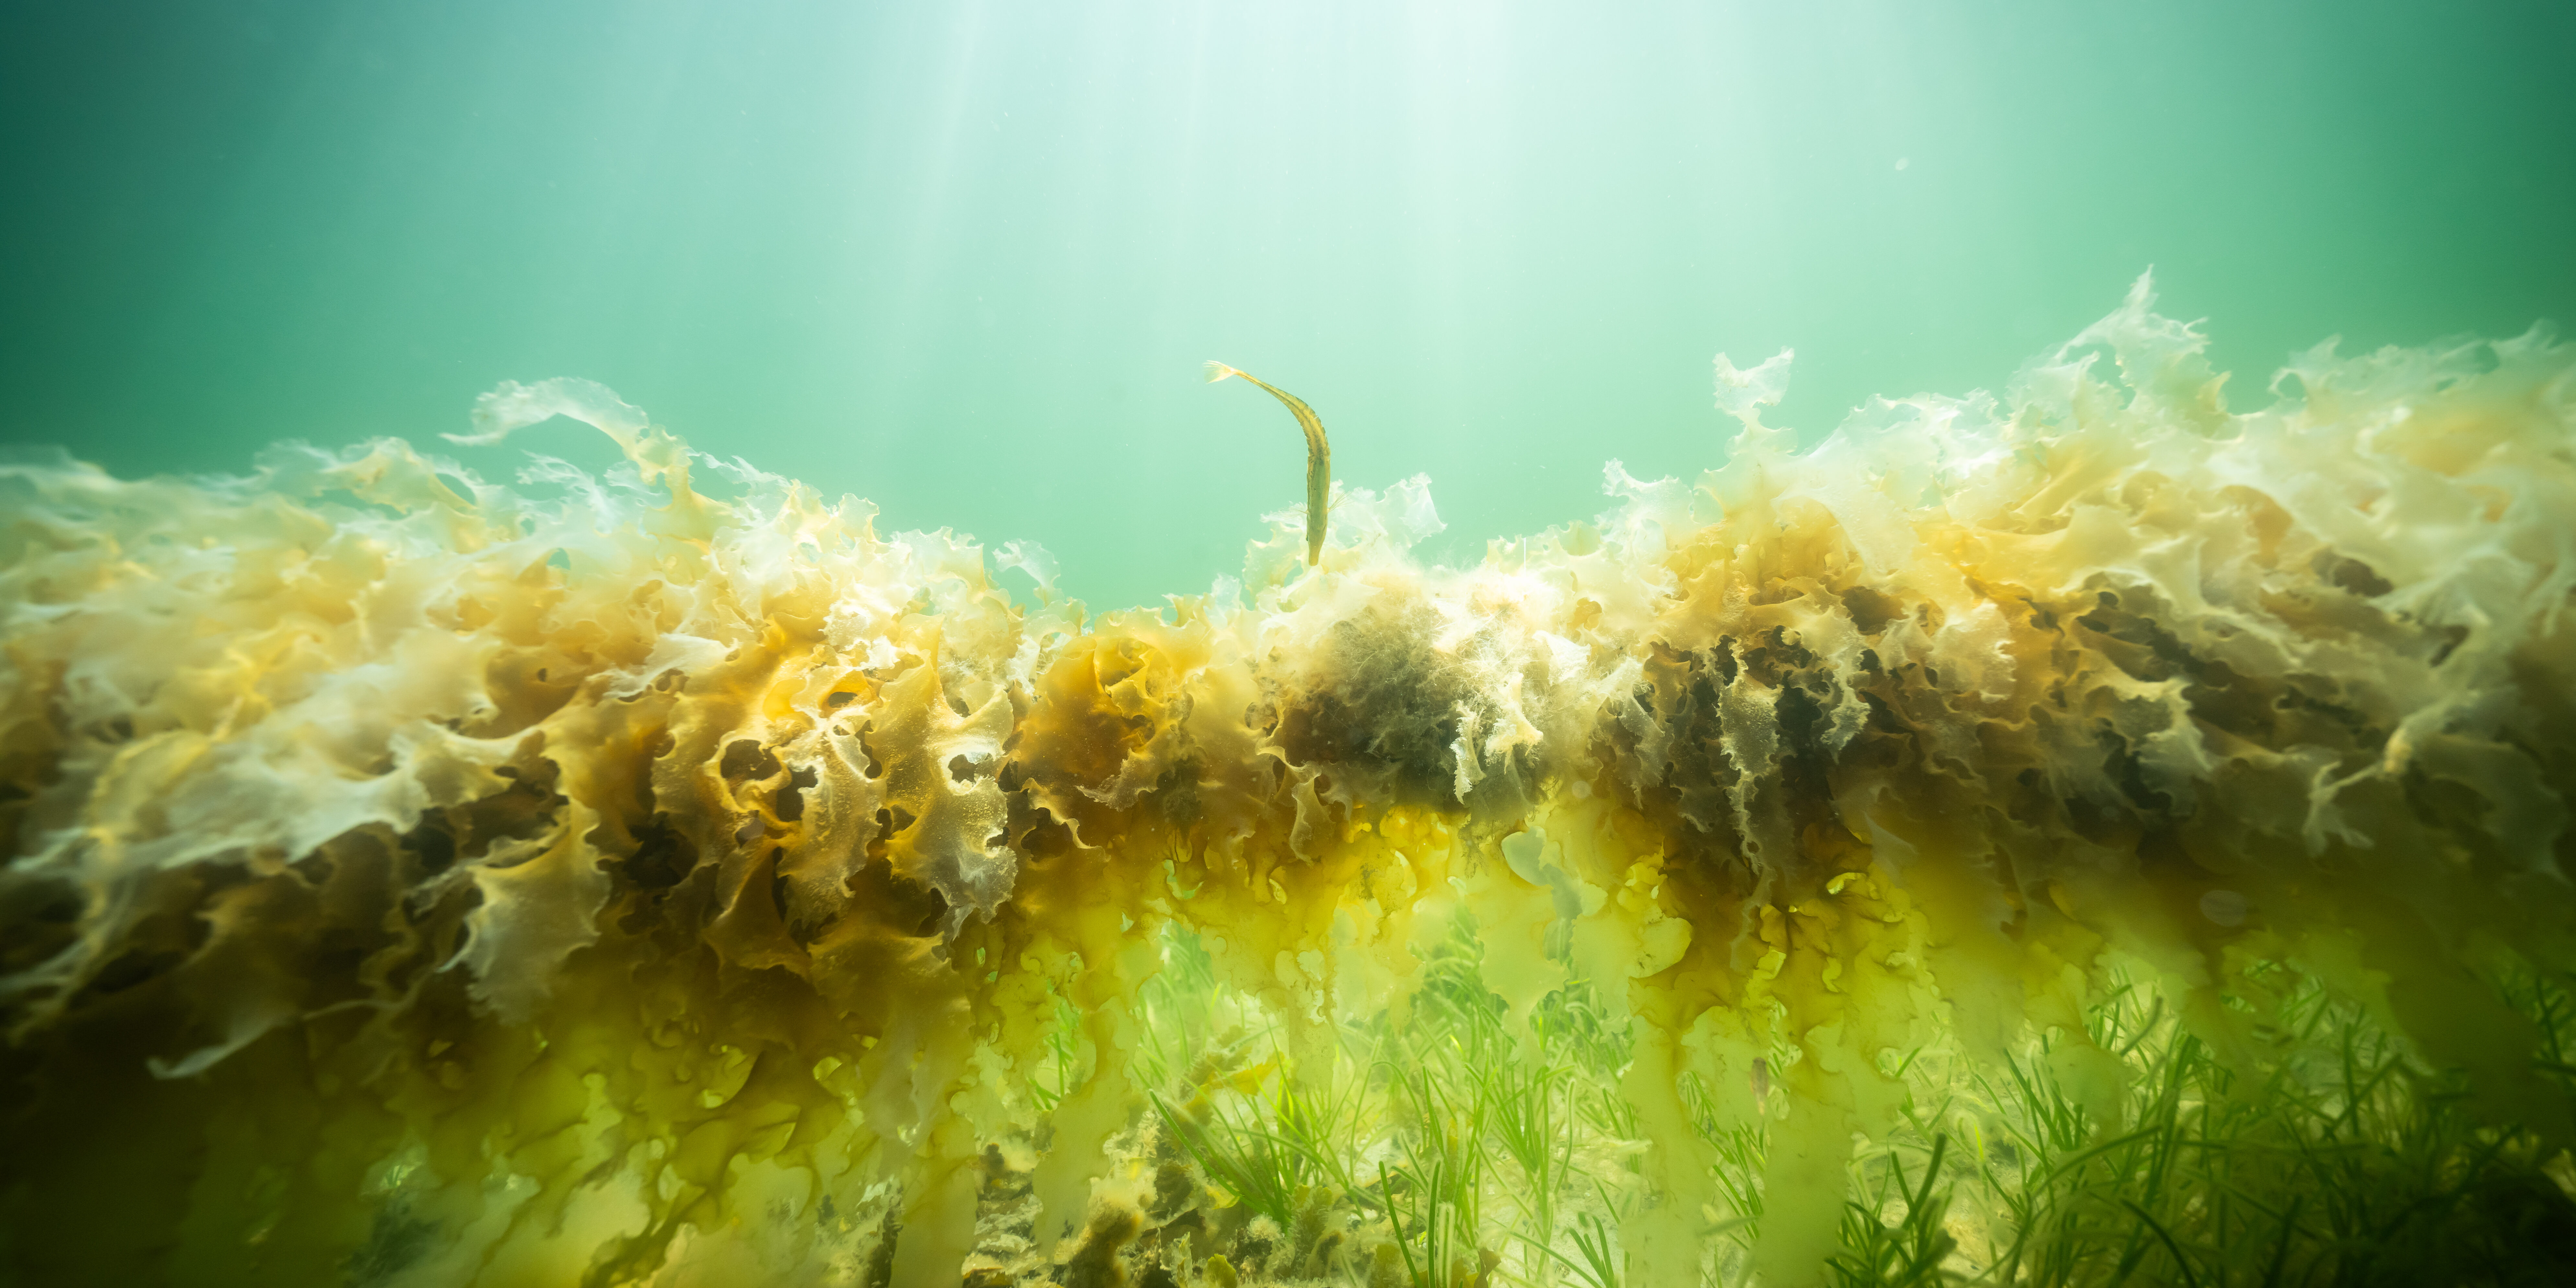
Your Yearly Cycle as an Ocean Farmer
Ocean farming runs on a seasonal rhythm. If you plan ahead and build your workflow around that cycle, you’ll avoid gear clashes, reduce stress, and increase your yields. This is your quarter-by-quarter breakdown of main activities:
Autumn (September–November)
Your prep and planting phase.
- Kelp: In your hatchery, you'll collect spores from wild kelp, inoculate spools of twine, and grow them into juvenile kelp. If you don’t have your own hatchery, you will buy spore lines ready to be outplanted (reach out to your national Cool Blue Future facilitator for more information on how to get a hold of seeded lines in your country). Once water temperatures drop below 12 °C, you'll outplant those seeded lines at sea.
- Shellfish: You’ll install new spat - either wild-collected or hatchery-grown - and double-check that all gear is clean, in place, and securely fastened for winter.
Winter (December–February)
The monitoring and maintenance window.
- Kelp: Growing steadily with little intervention. You’ll visit your site weekly or after storms to check lines and inspect for tangles or biofouling.
- Shellfish: Still feeding, but slowly. You’ll remove any ice buildup, clean gear, and keep predators off your oyster cages and mussel stockings.
Spring (March–May)
This is your harvest and reset season.
- Kelp: You’ll harvest before the water warms above 14 °C and barnacles or algae start to foul the blades.
- Shellfish: The coming generation of mussel larvae are caught on collector ropes. Begin sorting and thinning your stock from last year and possibly harvesting faster-growing mussels.
Summer (June–August)
Your shellfish-focused season.
- Oysters and Mussels: Growing fast. You’ll be grading, cleaning, and prepping for your primary shellfish harvest. Small mussels on collector ropes are transferred to grow-out socks for further growth.
- Seaweed: Clean lines, repair anchors, and prep for fall seeding.
Seaweed Cultivation: Tools, Setup, and Techniques
Growing seaweed is low-cost, fast-growing, and space efficient. With the right setup, you can produce tons of edible biomass in a small area—with minimal inputs and year-round use of your gear.
Gear you’ll use:
- Longlines (30–60 meters): Nylon or polypropylene rope suspended horizontally 1–3 meters below the surface.
- Spreader bars: Prevent tangling and maintain spacing.
- Seeded twine: 1–2 mm cotton or poly twine seeded in your hatchery and later wrapped onto main lines.
- Buoys (15–50 liters): Keep your lines floating and under tension.
- Anchors (20–50 kg): Secure each end of your longline. Use sand screws, deadweight, or helix anchors depending on your seabed.
- Knife or roller: For harvest. A serrated kelp knife is often enough for small-scale harvests.
Go to lesson 3 about Setting up your ocean farm for more details on how to install the farm.
The Seeding Process (Hatchery)
Cultivation of seaweed relies on supply of thin lines with very small seaweed plants that are attached to the line and will eventually grow into long blades. You might be able to buy ready-made spore lines from a hatchery – or you can choose to produce the spore lines yourself. We highly recommend that if you buy your spore lines, you make sure that the seaweed used to seed the lines comes from the area your farm is located in. Seaweed adapts to local conditions, and you are more likely to succeed if you base your farm on seaweed that has a proven track record for thriving in your area.
If you choose to produce the spore lines yourself, you need to follow these main steps. We suggest you take notes as you perform the tasks, so you can identify possible causes of mishaps and learn from unsuccessful attempts:
Step 1: Spore Collection
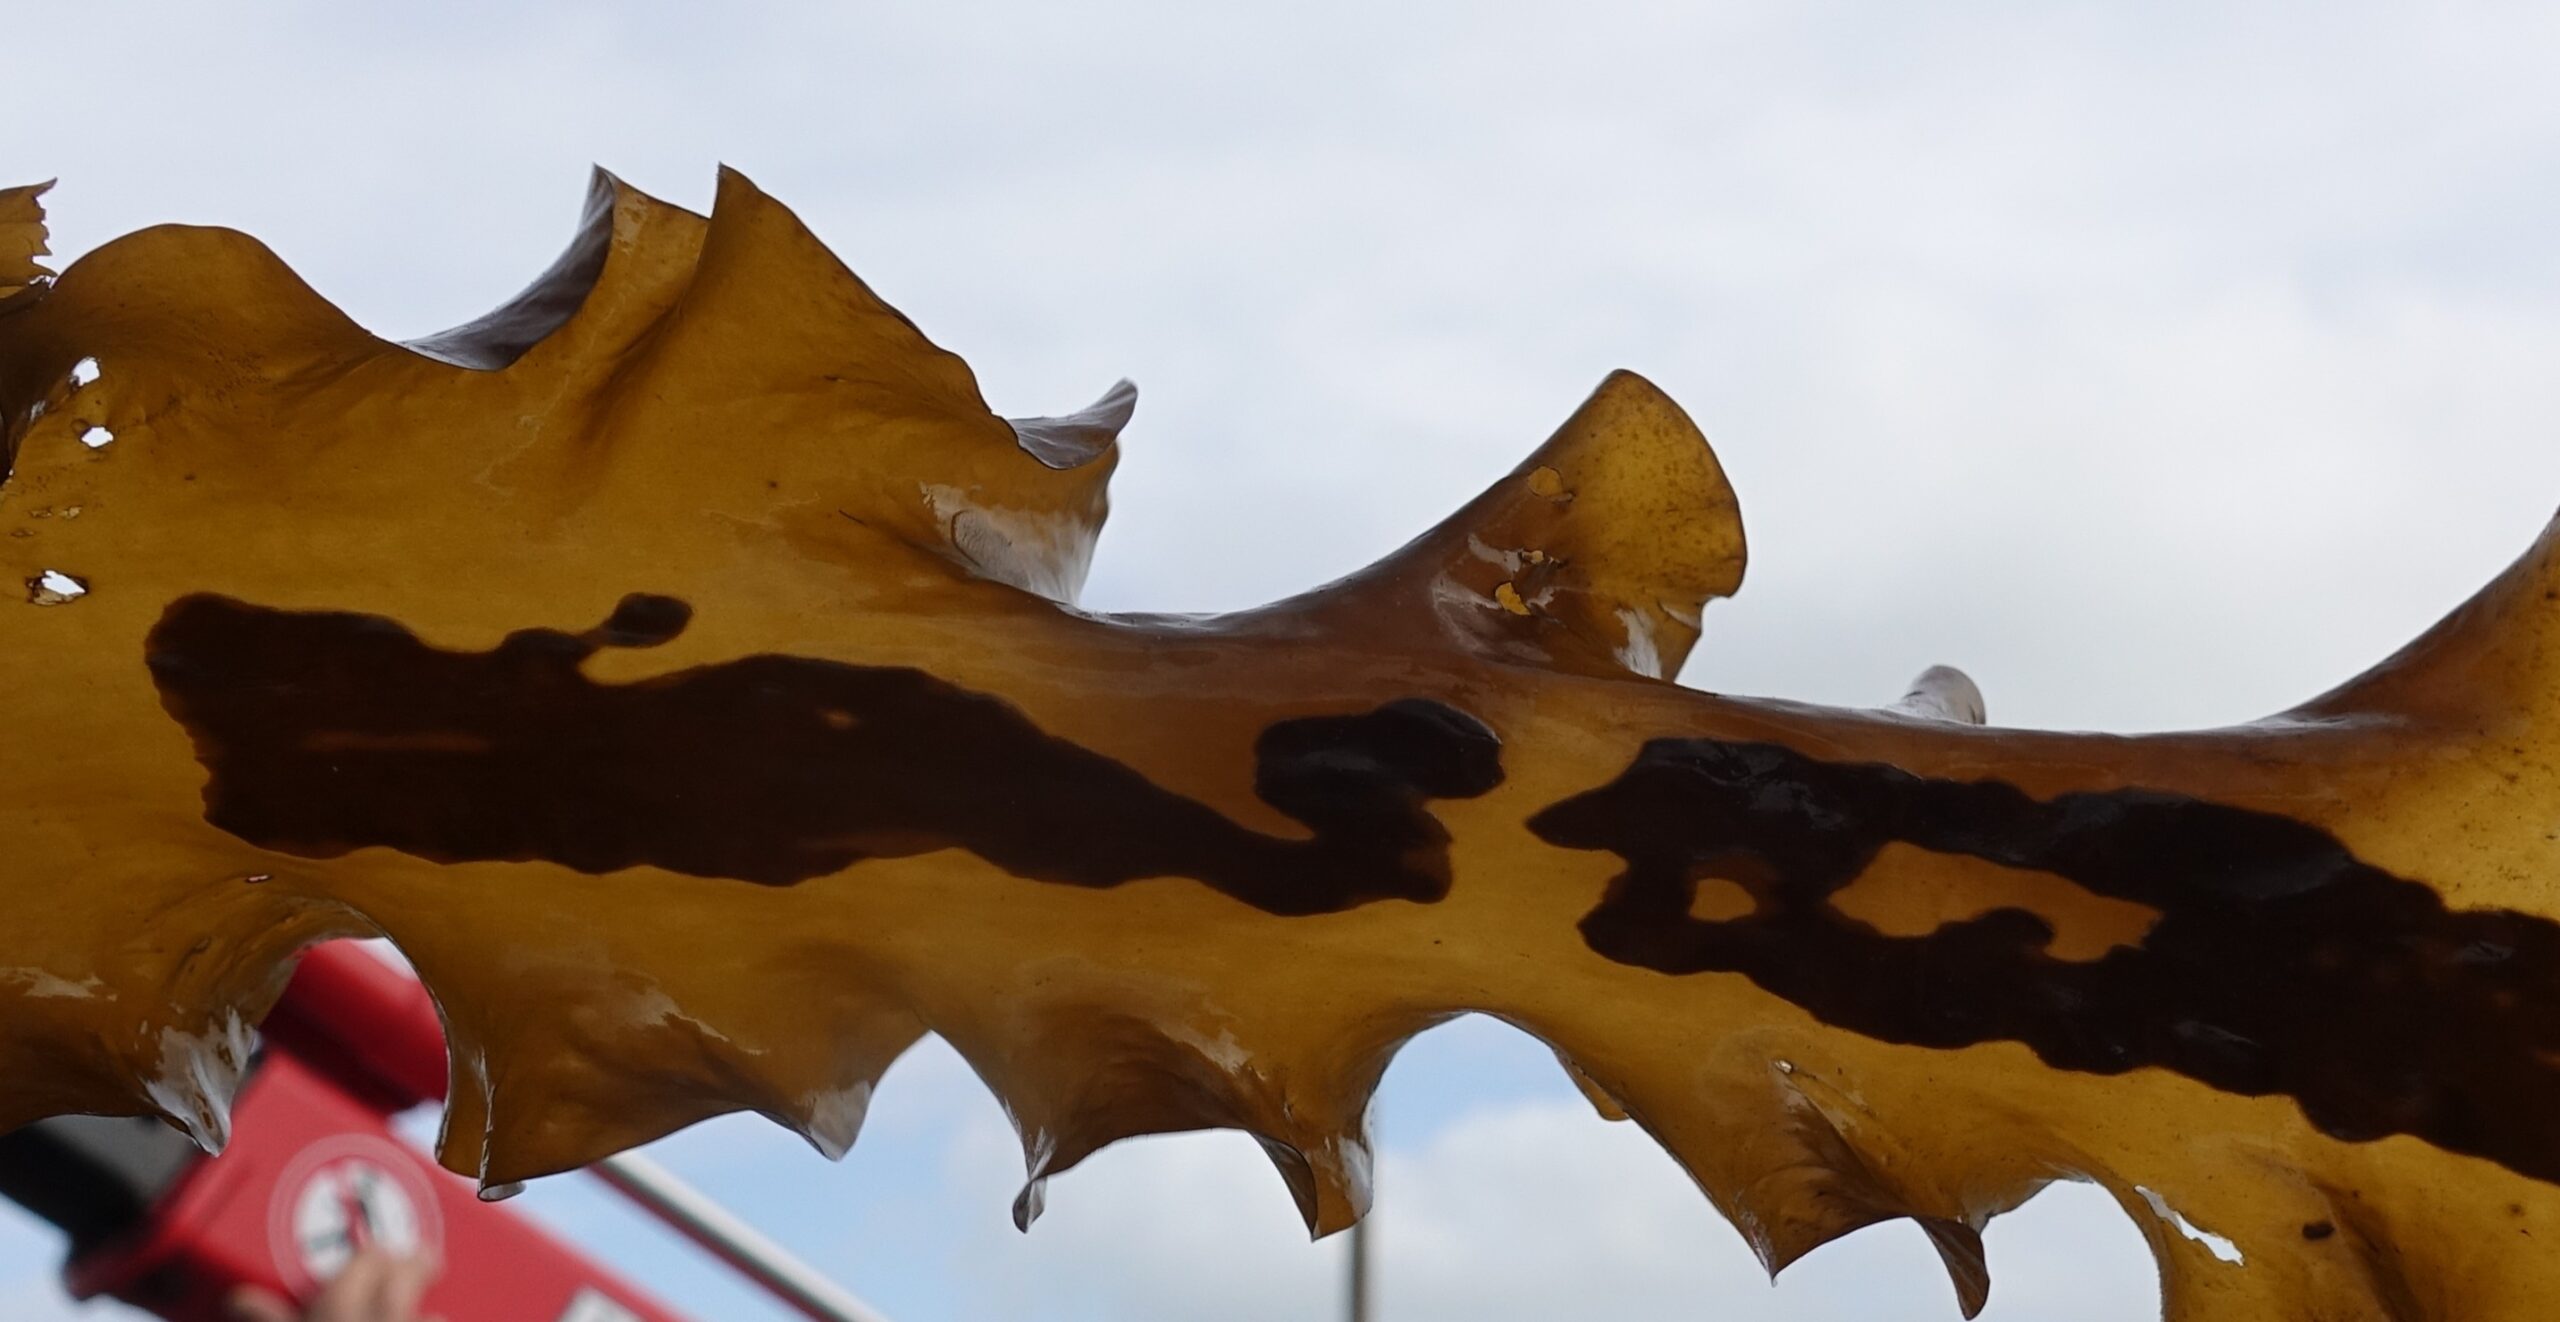
- Collect mature sugar kelp blades in late summer (August–September). Look for sori patches—these dark spots contain spores.
- Rinse with filtered seawater and store in a fridge (4–5 °C) for 24–48 hours.
Step 2: Spore Release & Seeding Twine
- Place sori in seawater tanks at ~10 °C with moderate aeration.
- Introduce spools of twine (wrapped around small dowels or PVC pipe) into the tank. Spores settle onto the twine.
- Keep tanks illuminated (50–100 µmol/m²/s) for 10–14 days, changing water every 2–3 days.
Step 3: Grow-Out in Hatchery
- Juvenile sporophytes (2–5 mm) should be visible on the twine within 2 weeks. Grow until they reach 1–2 cm, then prepare for deployment.
Outplanting at Sea (Field Work)
Step 1: Pick the Right Day
- Wait for calm weather and water temps below 12 °C.
- Bring pre-seeded spools, longlines, zip ties, tools, and backups.
Step 2: Wrap Seeded Twine
- On site, unroll longlines between buoys.
- Wrap seeded twine gently in a spiral along each longline, securing ends with zip ties or simple knots.
Step 3: Check Depth and Tension
- Keep lines 1.5–3 m deep. Use drop lines or weights to stabilize.
- Buoys should keep tension so lines don’t sag under kelp weight.
Seeded twine is wrapped around a longline in Holbæk, Denmark for deployment at sea.
Growth and Maintenance
- Kelp can grow up to 1.5–3 cm/day in winter conditions.
- Visit your farm every 7–10 days. Clean debris and detangle lines.
- Record water temperature, salinity, and visibility during each visit.
Harvesting Kelp
- Harvest when blades reach 1–2 meters—typically March through May.
- Use a sharp knife to cut above the stipe to allow partial regrowth.
- Handle carefully to avoid bruising. Rinse in seawater and chill quickly.
- Yields of 10–20 kg of wet kelp per meter of longline are not uncommon in healthy conditions with high salinity and abundant nutrition.
Mussel Cultivation: Tools, Setup, and Techniques
Mussels are one of the easiest shellfish to grow and require minimal inputs. Once you’ve set your system, they’ll grow using natural phytoplankton—cleaning the water as they go.
Gear You’ll Use:
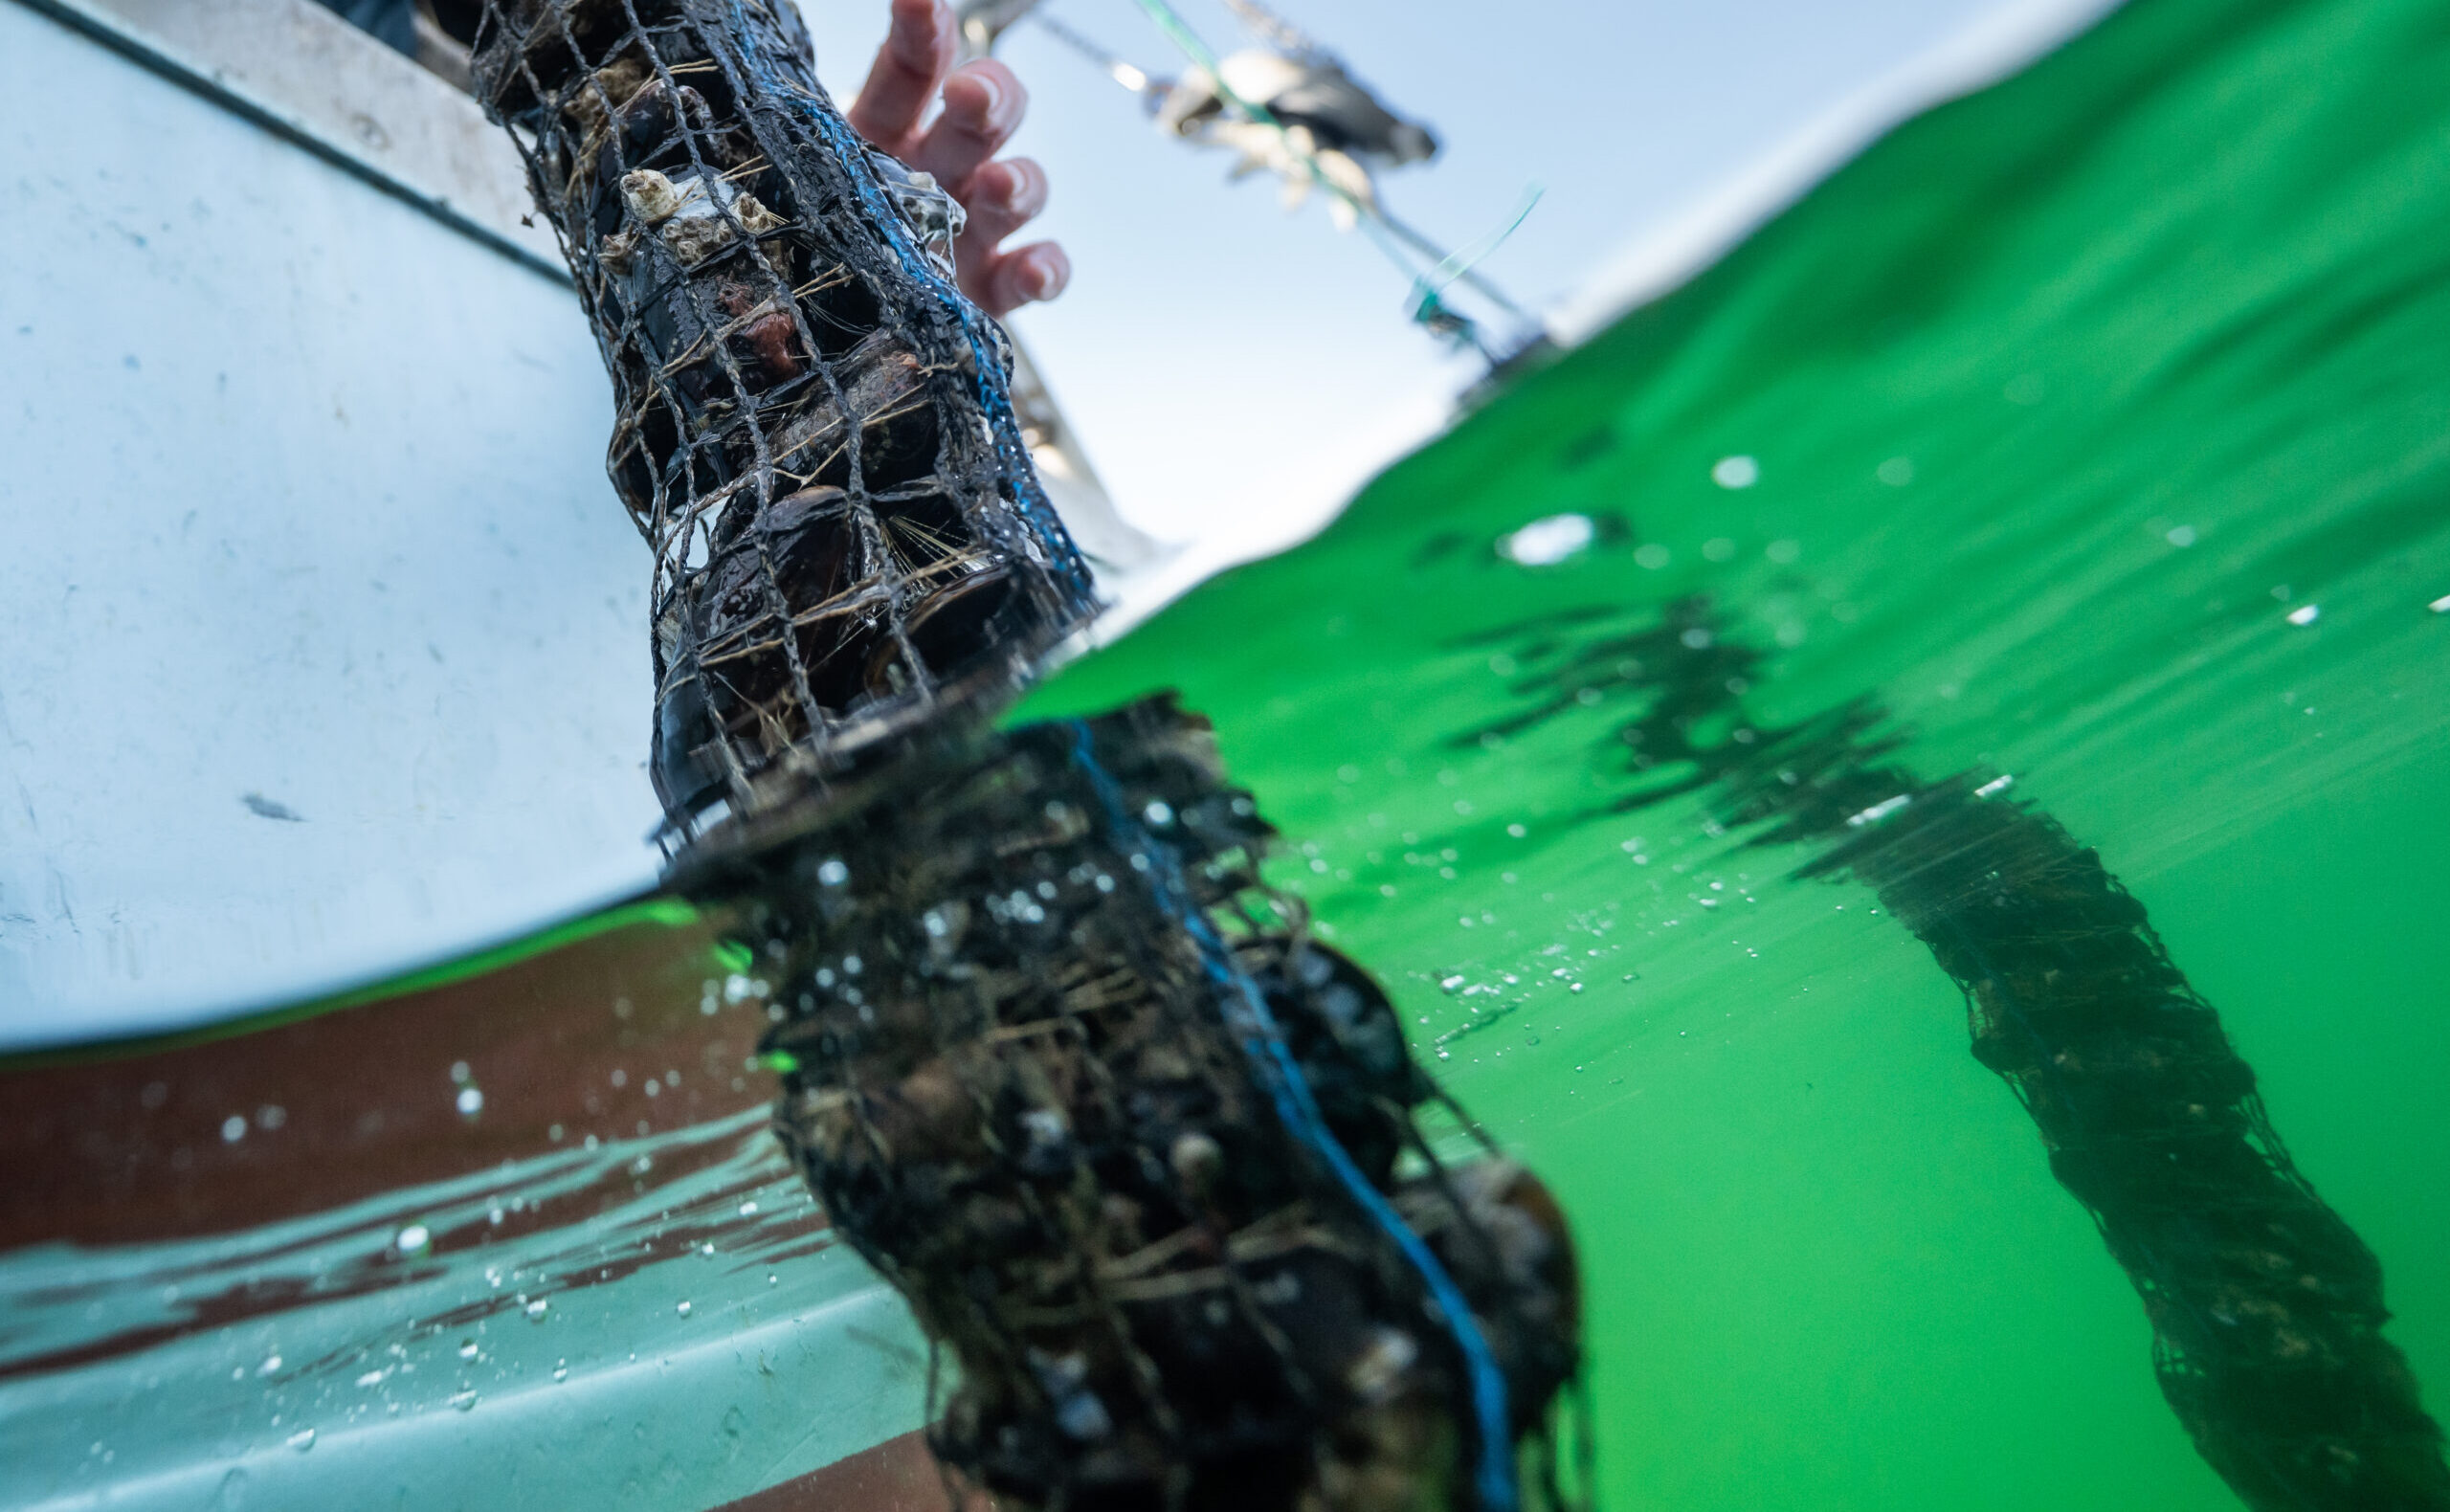
- Mussel socks: Mesh tubes 1.5–2.5 meters long with varying mesh sizes.
- Collector ropes: Nylon or coconut-fiber ropes for natural spatfall.
- Buoys: 10–50 liters, keep socks vertical and lines from tangling.
- Anchors: 20–50 kg depending on current strength.
Spat Collection:
- Hang collector ropes in late spring to capture wild mussel larvae.
- After 4–6 weeks, spat (2–4 mm) will settle. Collect and gently transfer to socks.
Grow-Out Phase:
- Stuff mussel socks with spat, then suspend from longlines.
- Maintain 30–50 cm spacing between socks for good flow.
Maintenance:
- Clean socks every 2–4 weeks to prevent biofouling.
- Check for starfish, sea ducks, and crabs that prey on mussels.
- Replace worn socks and adjust buoyancy monthly.
Harvest:
- Mussels reach harvest size (4–6 cm) in 12–18 months—though this depends heavily on local growing conditions. In areas with high salinity and plenty of nutrients, growth is fast, while in low-salinity waters, mussels may never grow very large.
- Harvest by cutting socks, rinsing mussels in seawater, and chilling below 5 °C. The mussels can optionally be size-sorted at harvest, and the smallest ones can be returned to the ocean farm to continue growing.
- Expect 8–15 kg of mussels per sock depending on conditions.
Oyster Cultivation: Tools, Setup, and Techniques
Oysters are high-value crops that thrive in floating or suspended systems. They need more sorting than mussels but offer excellent returns if managed properly.
Gear You’ll Use:
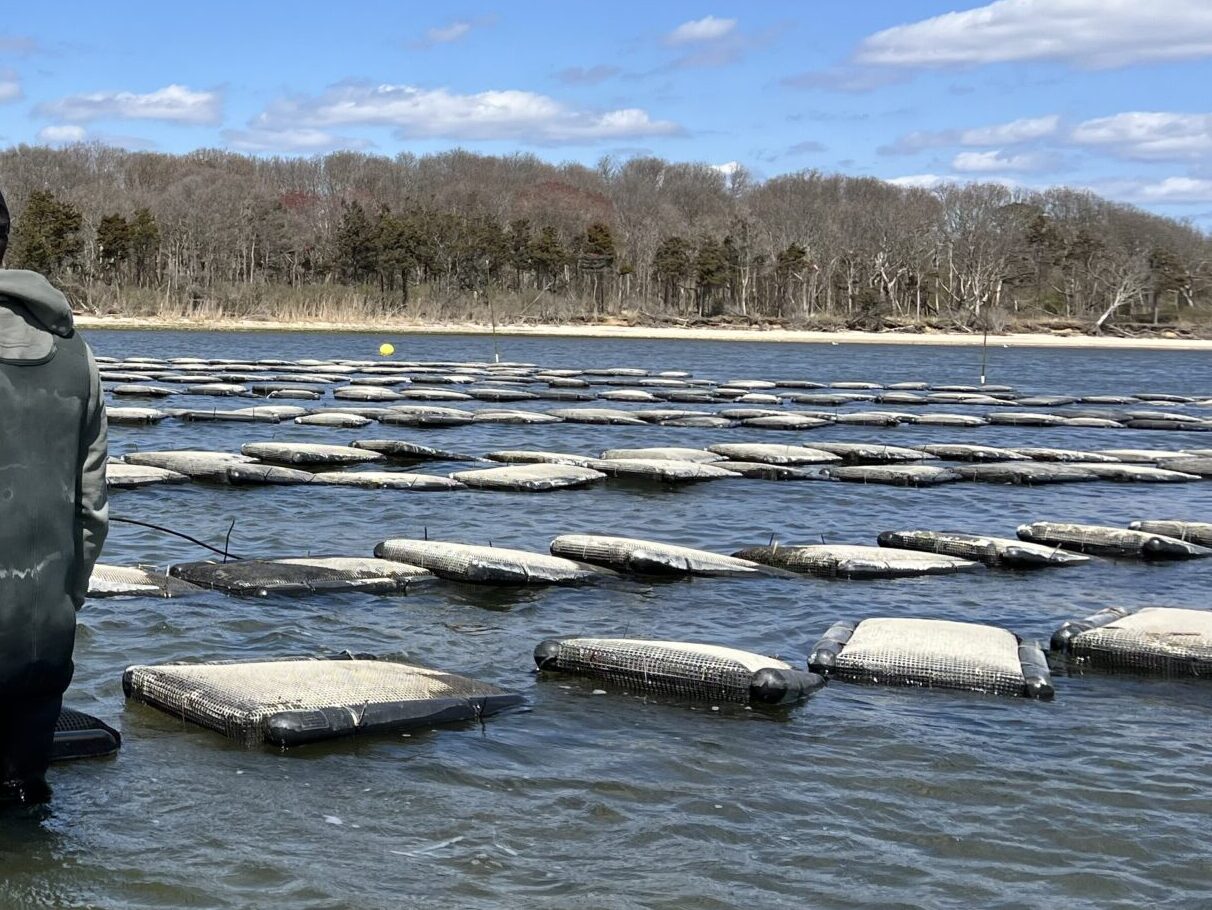
- Floating cages or bags: UV-stable mesh for surface growing.
- Bottom cages: Steel or plastic for subtidal placement.
- Grading sieves: For size-sorting every 4–6 weeks.
- Predator shields: Nets or sleeves to block crabs and snails.
Spat and Nursery Phase:
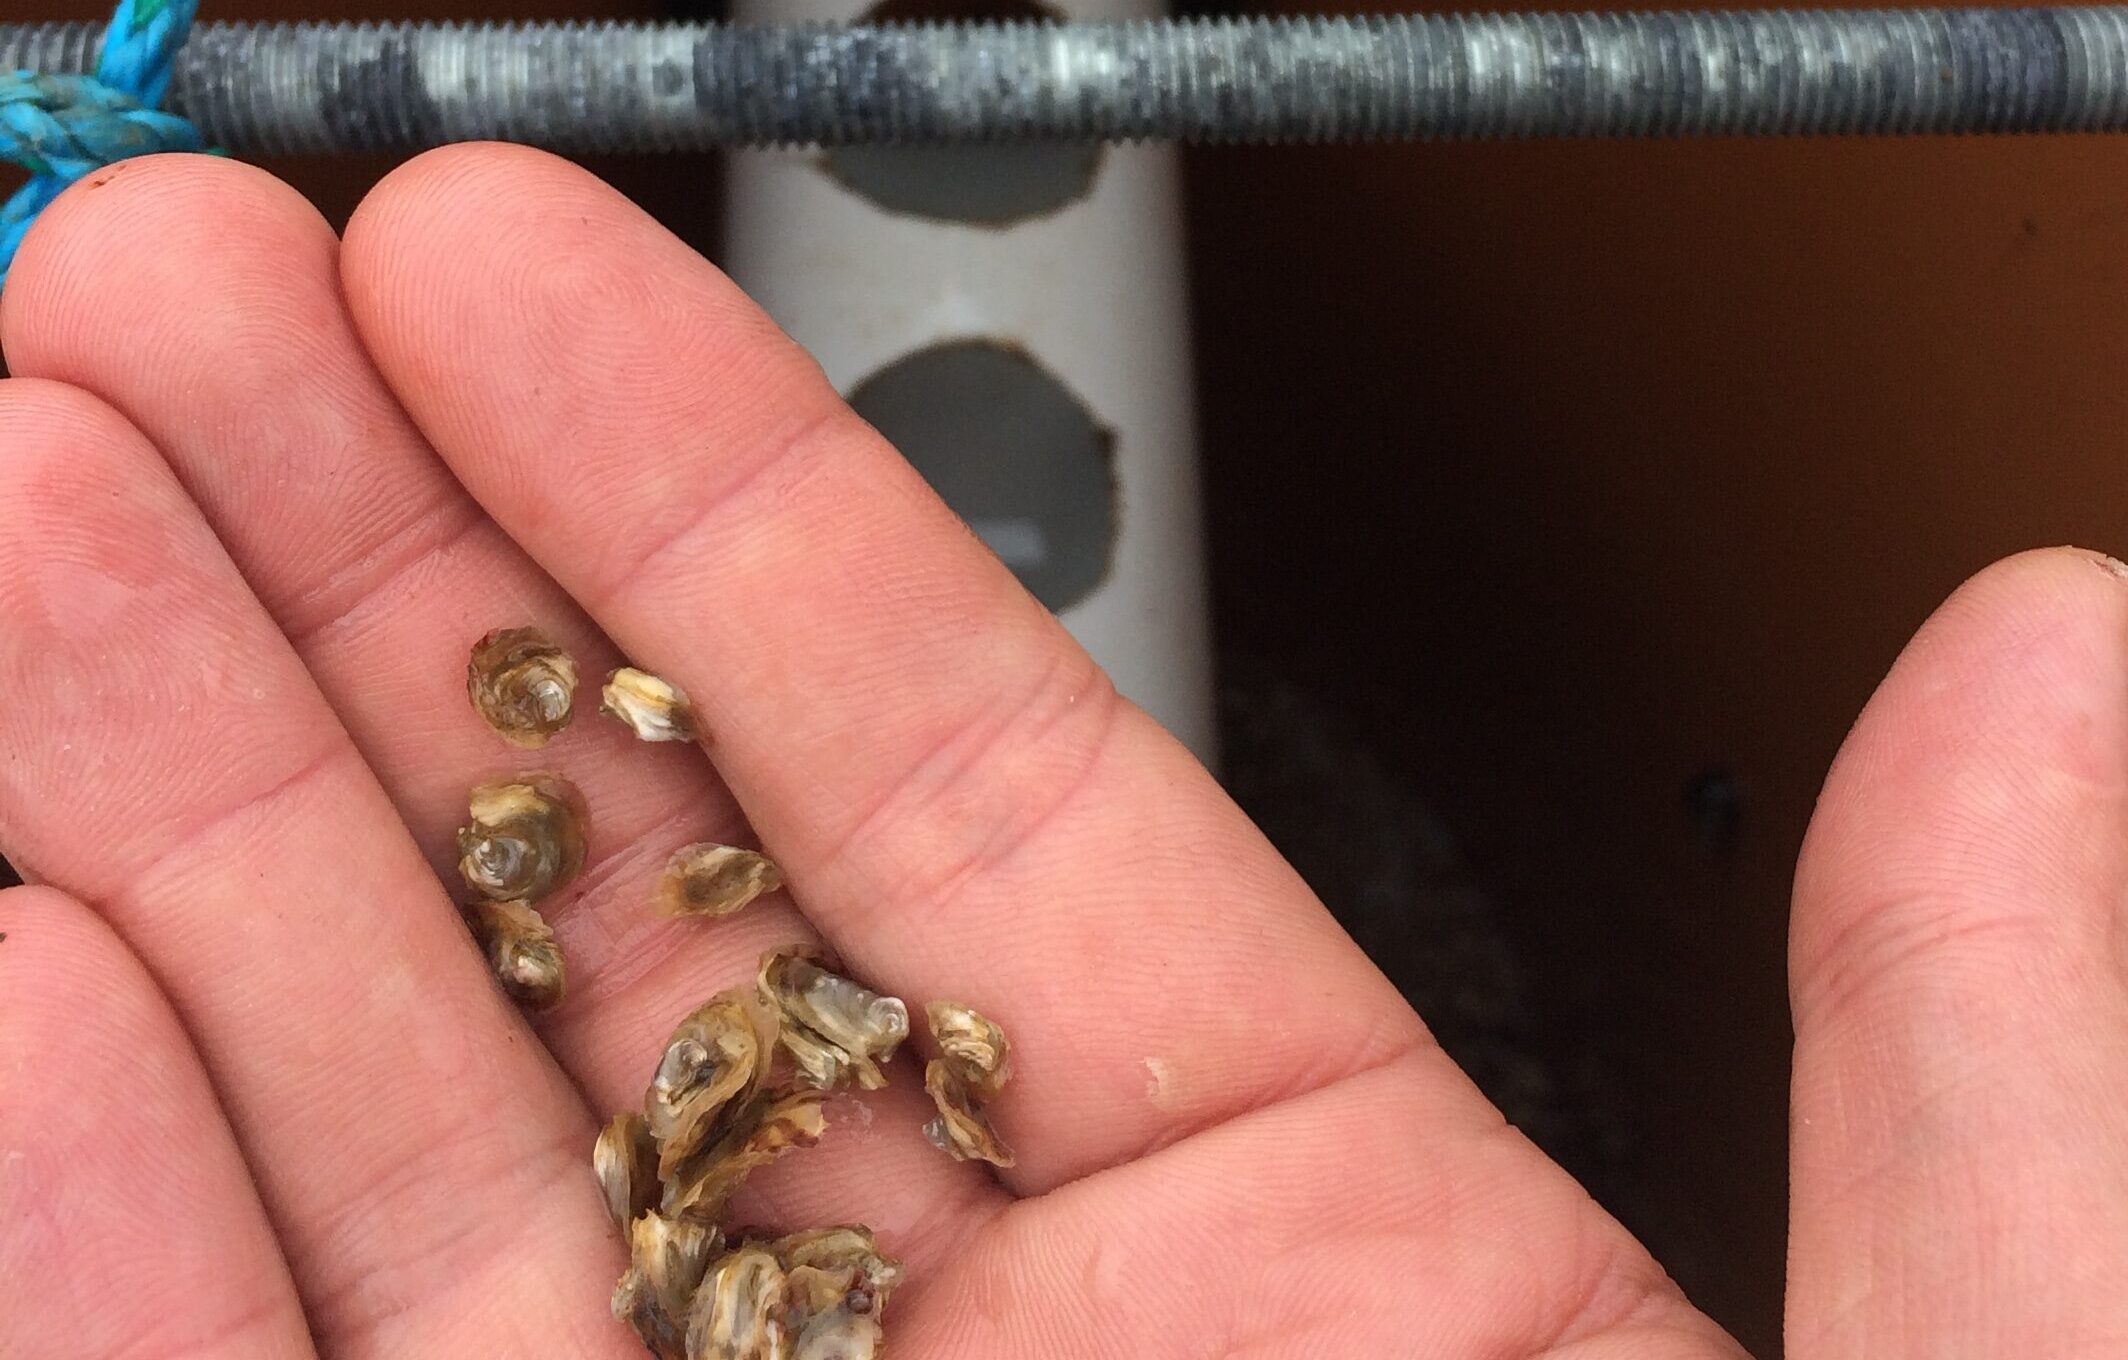
- Buy 2–10 mm seed from a certified hatchery.
- Start in an upweller or fine mesh bags.
- Keep in a calm, nutrient-rich location for 4–6 weeks.
Grow-Out Phase
- Move oysters to grow-out bags once they reach 10–15 mm.
- Space bags 30–50 cm apart on floating lines or pontoons.
- Flip or tumble bags every 1–2 weeks to shape shells and reduce fouling.
Maintenance
- Clean bags weekly with a brush or hose.
- Grade oysters every month using a 2–5 mm mesh series.
- Remove predators and adjust spacing to prevent stunting.
Harvest
- Oysters reach 75–100 mm in 18–24 months—depending on salinity and available nutrients where they are grown.
- Rinse, sort, and chill to below 5 °C.
- You can expect 25–50 market-size oysters per oyster bag or cage.
